

OUR BLOG
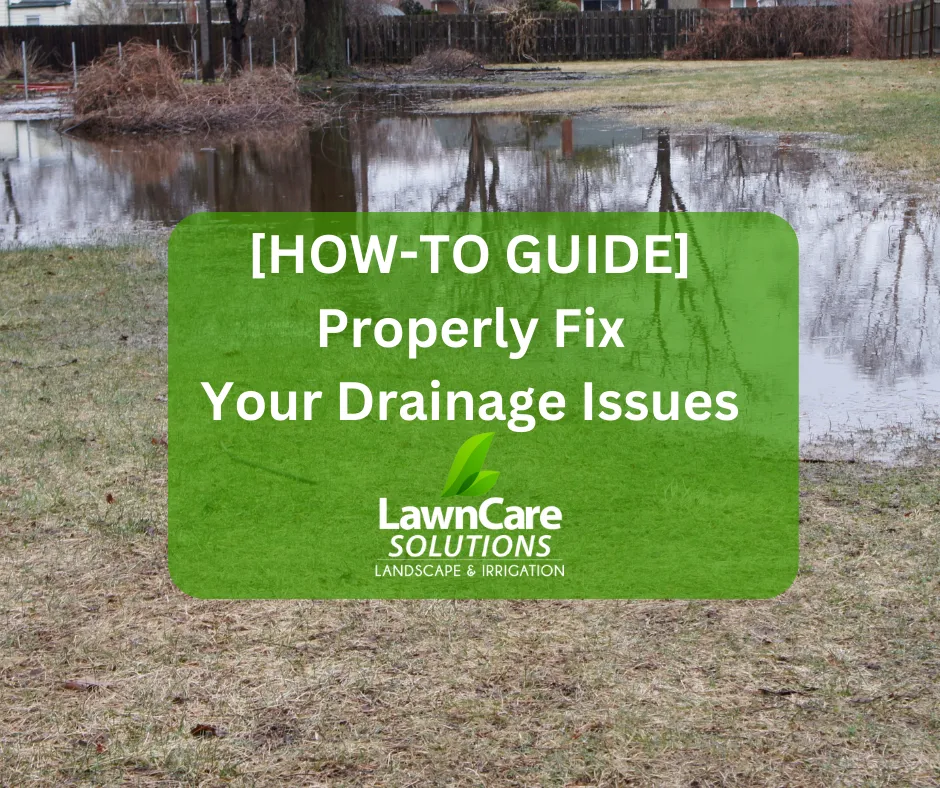
How to Property Install Drainage In Your Yard
“Unwanted water near your home can be one of the most costly mistakes if not taken care of quickly.” - Errick, Owner of Lawn Care Solutions
If you you have a home, at some point you have probably thought about water seeping into your home. Your home is your typically your largest investment so it makes sense that we worry about water damaging our property. In Shreveport Louisiana we often deal with severe storms that can quickly expose any issues with drainage in your property. I've had to deal with it myself, and we've helped over 250 homeowners with their drainage issues since we've started our business in 2008. If you are more of the DIY type and have time on your hands while trying to preserve some cost, I wanted to make a checklist so that if you are going to do it, you can do it correctly -- the first time!
With that said, here are 15 steps to fix your drainage issues once and for all - just like the pros! 👊
1. Determine the extent and cause of your drainage problem
First we need to know what we are dealing with. Are the drainage issues caused by clogged eavestroughs? If so, that is a simple fix without any extensive drainage work. Most of the time drainage issues are caused by poor slope. We can't fight against mother nature, slopes, and gravity; we need to work with those factors. In this step you will need to determine the cause of the drainage issues, and where the water is going to drain once the issue is fixed.
A temporary solution may be required during this stage if the pooling of water is excessive and/or at risk of flooding your home. Temporary pumps, sand bags, and more can be used to put the problem at bay for the short term.
2. Check all local laws before you dig/install any permanent fixtures
Before digging you must call any local utility companies so that they can mark any gas, other utility lines in the property. Other items that could be located underneath the ground include invisible dog fences, robotic lawn mower cables, and sprinkler lines. Be sure to contact any contractors who may have installed any of the aforementioned to not potentially void any warranties by damage their lines.
Next, call any permit offices to determine if a permit is required to be pulled in your county. Typically this will be done by the contractor, but if you are planning on DIYing this project then you want to have all bases covered!
3. Collect/rent any necessary tools and equipment
At the bare minimum you will need the following tools:
Shovels
Wheelbarrows
A tool to cut drainage pipes
Safety gloves and googles
Landscape Fabric
Gravel
Perforated Pipe
Pipe fittings
ABS or PVC pipe cement
Drain discharge outlets
Drain connectors for eavestroughs
Topsoil
Seed/Sod
Now this is the best case scenario and will be a lot of manual work. If you are planning to DIY it may be best to get a couple cases of beer and some BBQ and invite any friends or neighbours that may be willing to help.
If ground conditions are not ideal, you may need to rent a mini-excavator from your local tool/equipment rental shop. These can range from $200-$500 per day including fuel and delivery charges.
Blogs are a great addition to your site as they give you the ability to create authoritative content. They also help you establish credibility and become an expert in your field. Moreover, they provide you with an opportunity to build an audience that will help push your company’s brand recognition.
3. Design your drainage system
In yard drainage projects, meticulous planning is the linchpin of success. A well-thought-out plan serves as the roadmap, guiding each phase of the project and ensuring you don't need to fix unnecessary mistakes.
Through an assessment of your property, you should identify trouble spots, plan where the water is going to go, and determine the most suitable drainage system.
The planning phase also allows for precise calculations, ensuring the proper material procurement, slope, alignment, and placement of drainage elements.
In essence, the old saying holds true: "Failing to plan is planning to fail."
5. Excavation
Marking the Area:
Identify and mark the area where the French drain will be installed. Consider the slope of the yard and the direction you want the water to flow.
Excavation Start Point:
Choose a starting point for the trench. This is typically at a lower elevation or where water tends to accumulate.
Trench Dimensions:
Determine the dimensions of the trench, considering the depth and width necessary for accommodating the drainage pipe and surrounding gravel.
Excavation Depth:
Excavate the trench to the required depth. This is typically between 12 to 24 inches deep, depending on the specific drainage needs and local conditions.
Trench Slope:
Create a gentle slope along the trench. A slope of 1-2% is generally recommended to ensure proper drainage and water flow toward the desired outlet.
Removal of Excavated Soil:
Remove the excavated soil and place it in a designated area. You may use a wheelbarrow or other equipment for this task.
6. Installation
Line the Trench with Landscape Fabric:
Optionally, but often recommended, line the bottom and sides of the trench with landscape fabric to prevent soil infiltration and clogging of the drainage system.
Add Your Gravel Base:
Place a layer of coarse gravel or crushed stone at the bottom of the trench. This provides a stable base for the drainage pipe and facilitates water infiltration.
Install the Perforated Pipe:
Lay the perforated drainage pipe along the center of the trench on top of the gravel. Ensure the perforations face downwards to allow water entry.
Cover the Pipe with Gravel:
Fill the trench with more gravel or crushed stone, covering the drainage pipe completely. The gravel serves as a filter and provides additional drainage capacity.
Backfill the area:
Fill the remaining trench with the excavated soil, compacting it in layers to prevent settling.
Surface Grading:
Grade the surface above the French drain to encourage water to flow into the trench. Ensure the slope is away from structures and towards the desired drainage outlet.
7. Testing Phase
Now it's time to conduct a tests to ensure the proper functioning of the drainage system. Run water into your drain for a minimum of 2 minutes continuously to ensure proper flow of the water to your desired area.
If your town requires an inspection, you should now arrange for inspections to verify compliance with building codes and regulations.
8. Document
Ever renovate your home or a complete a project, and 10 years later you wish you had documented how you did it, or where certain things were installed? Well now is your chance!
While it is fresh in your mind document the completed drainage system, including "as-built" drawings and any modifications made during construction.
And just like that you now have a professionally made drainage system for your yard. Stay tuned for more tips and tricks in the future!
Thank you!
Lawn Care Solutions
Wondering who is the best Lawn Care Near Me in Shreveport & Surrounding Areas?
Lawn Care Solutions is the top rated for Lawn Care, Landscaping, and Irrigation.


© 2026 Lawn Care Solutions - All Rights Reserved
Wondering who is the best local landscaper near Shreveport, LA? We are your
Lawn Care Solution for all yard work.
© 2026 Lawn Care Solutions - All Rights Reserved